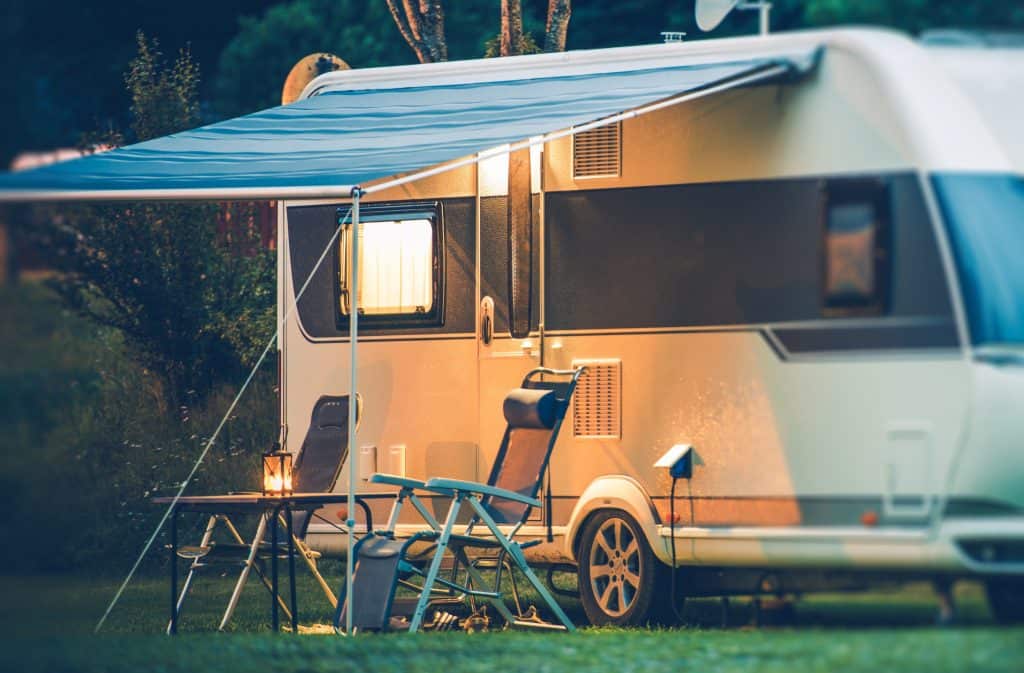
Building a self-made camper can be a rewarding and fulfilling experience for any adventurer. One important aspect of creating a comfortable living space in your camper is insulation. Proper insulation will help keep your camper warm in the winter and cool in the summer, making it more comfortable to live in no matter the weather outside. Insulating a camper can be a challenging task, but with the right tools and knowledge, it is certainly achievable.
In this article, we will provide a 10-step guide on how to insulate a self-built camper. We will cover the different types of insulation materials, tools required, and techniques needed to effectively insulate your camper.
Step 1: Measure the Space
Before beginning the insulation process, it is important to measure the space that needs to be insulated. This will help you determine how much insulation material you will need to purchase. You will need to measure the height, width, and length of the walls, floor, and ceiling of your camper.
Step 2: Choose the Insulation Material
There are several types of insulation materials to choose from, including fiberglass, spray foam, mineral wool, and rigid foam. Each material has its own benefits and drawbacks, so it is important to choose the one that best fits your needs.
Fiberglass insulation is a common and affordable option, but it can be difficult to install in tight spaces. Spray foam insulation is more expensive, but it can provide a better air seal and is easier to install. Mineral wool insulation is fire-resistant and does not absorb moisture, making it a good option for damp environments. Rigid foam insulation is lightweight and easy to install, but it can be more expensive than other materials.
Step 3: Prepare the Space
Before you start with the insulation of your Camperausbau, you need to make sure that the space is prepared. This means removing any existing materials, such as old insulation or paneling. If you are converting an old van or RV, you may also need to remove any existing fixtures, such as cabinets or beds.
Once you have removed any old materials, you should take the time to clean the space thoroughly. This includes removing any debris or dust that may have accumulated over time. If there are any areas that are particularly dirty or greasy, you may need to use a degreaser or cleaner to get them properly cleaned.
Step 4: Install Vapor Barrier
Once the space is prepared, you will need to install a vapor barrier to prevent moisture from entering the living area. This barrier can be made from plastic sheeting or foil-backed paper. It should be installed with the shiny side facing the living area.
Step 5: Cut Insulation to Size
Using your measurements from step 1, cut the insulation material to the appropriate size. It is important to wear gloves, a long-sleeved shirt, and a mask when handling insulation, as the fibers can be irritating to the skin and lungs.
Step 6: Install Insulation
Using a staple gun or adhesive, install the insulation material to the walls, floor, and ceiling of your camper. Be sure to fill any gaps and ensure that the insulation is snugly fit against the surface.
Step 7: Seal Any Gaps
To prevent drafts and heat loss, seal any gaps around windows, doors, and other openings using caulk or weatherstripping.
Step 8: Install Paneling
Once the insulation is installed, you can install paneling or other finishing materials to cover it up. This will give your camper a clean and finished look.
Step 9: Install Electrical and Plumbing
If you plan to install electrical or plumbing systems in your camper, it is important to do so before installing the paneling. This will make it easier to access the systems in case of maintenance or repairs.
Step 10: Test the Insulation
After completing the insulation process, it is important to test the insulation to ensure that it is working effectively. You can do this by using a thermal imaging camera or by simply feeling the temperature inside the camper on a hot or cold day.
Conclusion:
Camper isolieren can be a challenging task, but with the right tools and knowledge, it is achievable. Proper insulation will help keep your camper comfortable in any weather condition, making it a more enjoyable living space. Remember to measure the space, choose the appropriate insulation material, prepare the space, install a vapor barrier, cut the insulation to size, install the insulation, seal any gaps, install paneling, install electrical and plumbing, and finally, test the insulation.
It is important to take safety precautions when handling insulation materials, wear protective gear, and follow the manufacturer’s instructions carefully. In addition, it is essential to choose the appropriate insulation material for your camper based on your needs, budget, and climate.
Overall, insulating your self-built camper is a crucial step in creating a comfortable and livable space. With the right approach, your camper will be well-insulated, keeping you comfortable and protected from the elements for many adventures to come.


